Taylor and I recently decided that we have a new mission in life.
A food mission.
Or, more specifically:
A cooking mission.
We love to cook.
In fact, we make dinner at home together just about every night.
We love it.
Little factoid you may not know?
Taylor is a mean chopping machine.
Set a stack of veggies in front of him, and in just minutes, everything will be perfectly chopped and set into size-appropriate prep bowls.
We consider ourselves pretty good cooks.
We have a good handle on all the "classic" stuff:
chicken, fish, beef, soups, salads, pasta, sandwiches, etc.
We started branching out lately with slightly more complicated dishes like
brown-rice mushroom
risotto
and
homemade
chicken pot pie
and
restaurant-style pan-seared steak.
Mmmmm.
Our goal is to get really good at cooking well.
Not a bad mission, huh?
And so, a few weeks ago, we made a big purchase.
Julia Child's "Mastering the Art of French Cooking"
First recipe we wanted to try?
Boeuf Bourguignon.
Beef stew a la delicious.

I followed the recipe as well as I could.
But I did improvise a little.
I love Julia's intro to the recipe: "As is the case with most famous dishes, there are more ways than one to arrive at a good boeuf bourguignon. Carefully done, and perfectly flavored, it is certainly one of the most delicious beef dished concocted by man."
Alright Julila, it's on!
The Ingredients
6 oz. bacon
[we used about 4 pieces of thick bacon]
1 tbsp olive oil
3 lbs of stewing beef (cut into 2-inch pieces)
1 sliced carrot
[I would double (or even triple) this next time]
1 sliced onion
salt & pepper
2 tbsp flour
3 cups red wine
2-3 cups beef stock
1 tbsp tomato paste
2 cloves minced garlic
1 crumbled bay leaf
1/2 tsp thyme
Directions
Start by prepping everything.
I didn't and was running around like a crazy person trying to chop things while others cooked.
Also, pre-heat the oven to 450.
Chop the bacon into slices
[The recipe talks about lardons and doing something complicated to the rind.
I opted for just chopping the bacon the way it was]

Prep the meat - cut into two-inch pieces.
The recipe calls for lean meat, so we cut out as much fat as we could.
And prep the veggies.
Our onion to carrot ratio was clearly a little off.
(Like I said before, next time I'd use 2 or 3 carrots)
Heat the oil in an over-proof casserole dish.
Add the bacon and saute until crispy.
Take the bacon out with a slotted spoon.
[Sample bacon]
Keep the oil in the casserole - you'll use it in the next step!
Using a paper towel, dry off each piece of meat.
This will help the meat brown properly!
(Julia was totally on to something with this!)
Next, saute the meat, a few pieces at a time,
in the oil and bacon fat until "nicely browned on all sides," and then set aside.
[The cookbook said to let the oil/fat get very hot
before doing this ("until almost smoking," they said).
I didn't follow that direction very closely,
and so my meat only slightly browned and instead just cooked a little.]

In the same fat, brown the veggies.
[Or in our case, brown the (mass quantity of) onions and carrot pieces!]
Then drain the oil.
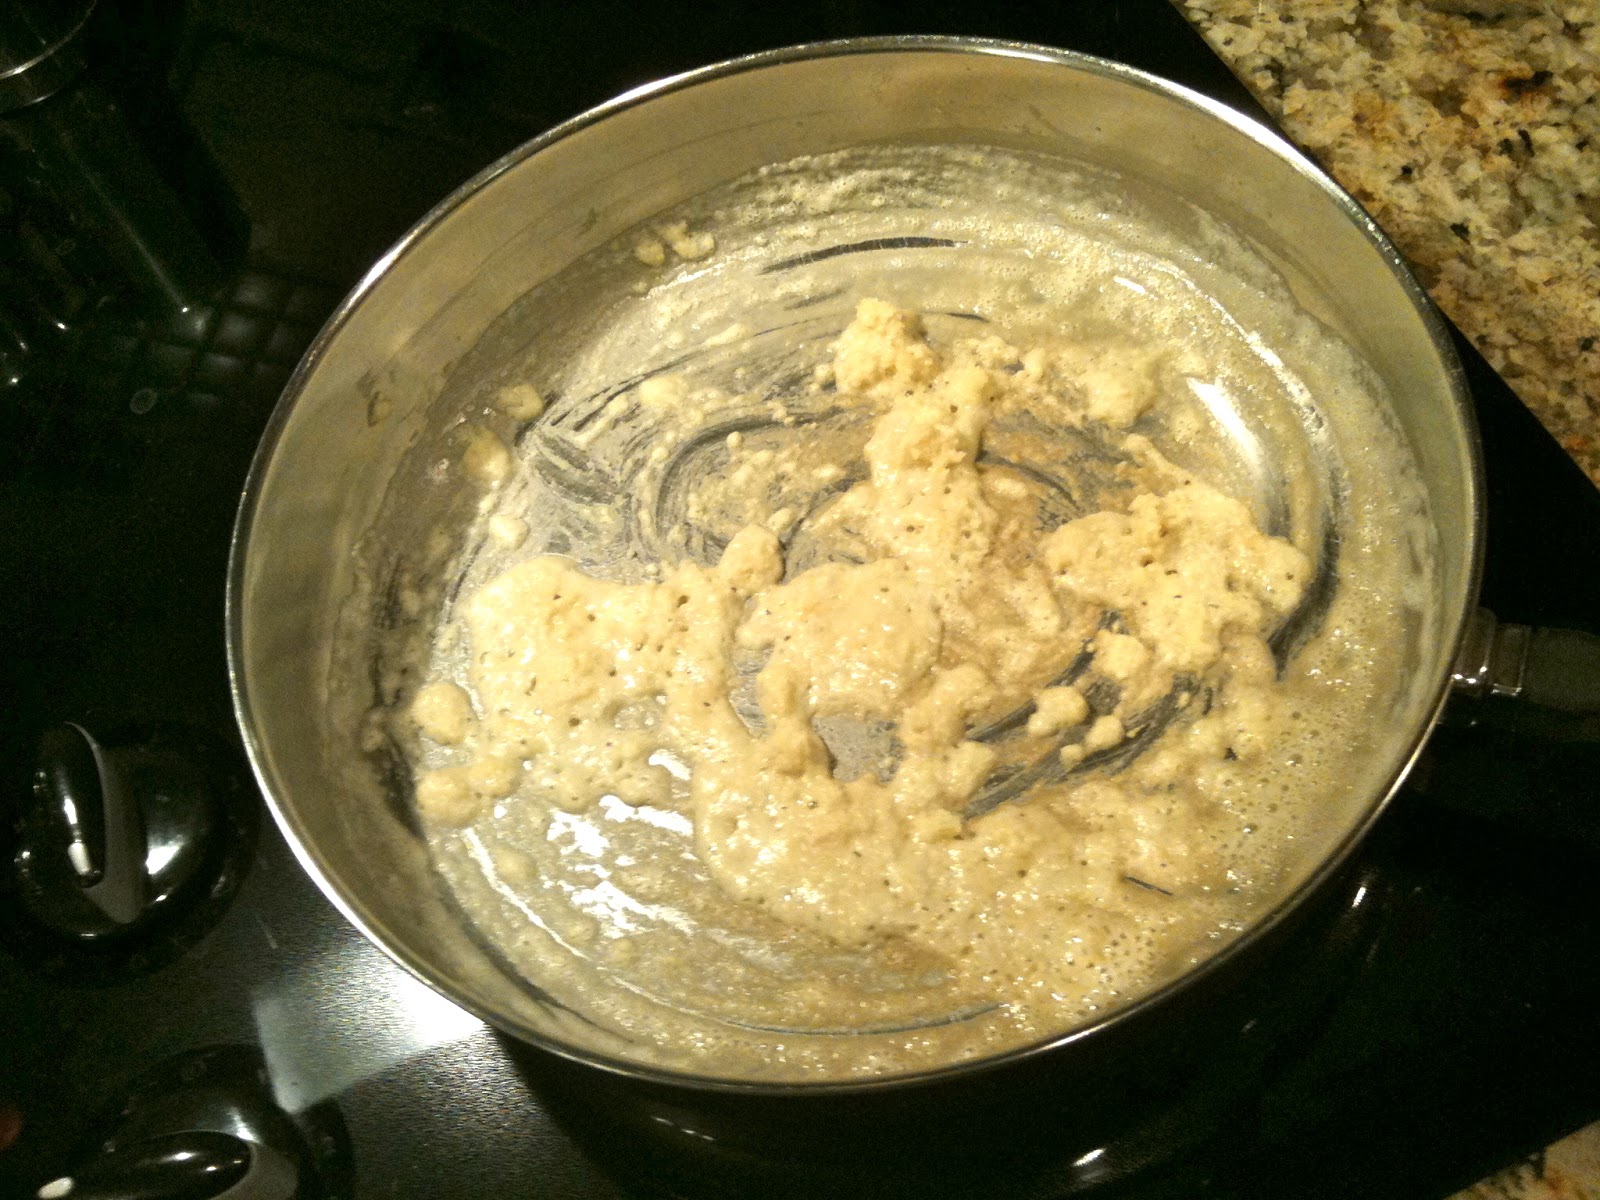
Return the beef and bacon to the pan and toss with salt & pepper.
Sprinkle on the flour and toss to coat the beef.
Set the casserole, uncovered, in the oven for 4 minutes.
Take it out, toss the meat, and then put it back in for 4 more minutes.
(This will brown the flour and coat the beef with a light crust.)
Take the casserole out, and turn the oven down to 325.
Stir in the wine and enough stock so the beef is barely covered.
[I missed the barely part - I clearly went for fully covered instead!]
Add the tomato paste, garlic, and herbs.
Bring to a simmer on the stove.
Then cover the casserole, set it in the oven, and let it simmer for 2 1/2-3 hours.
During the 2 1/2 to 3 hour wait, you have plenty of time to cook the onions and mushrooms.
These aren't just any old onions and mushrooms. These are:
"Oignons Glaces A Brun"
and
"Champignons Sautes au Beurre"
We're knee-deep in fancy french cooking here!
So the onions and mushrooms are technically an optional part of Boeuf Bourguignon
(they even have their own recipes)
But they really add to the stew so I totally recommend making them.
Champignons Sautes au Beurre
(Sauteed Mushrooms)
Ingredients
1/2 lb mushrooms
2 tbsp butter
1 tbsp oil
Directions
Heat the butter and oil.
Add the mushrooms (make sure they're well dried!)
Toss and shake the pan for 4-5 mins.
Remove from heat.
Try a mushroom.
And do a little dance.
This is part where Julie (the writer) repeats over and over: "don't crowd the mushrooms!"
I said that to myself many times as I was cooking them!
According to Julia (the chef), "successfully sauteed mushrooms are lightly browned and exude none of their juice while being cooked. To achieve this, the mushrooms must be dry and the butter very hot. And the mushrooms must not be crowded in the pan. If you saute too many at once, they steam rather than fry and their juices escape and they do not brown."
Whoa whoa whoa.
This is life changing stuff yall.
She is totally right!
You may have an urge to repeat the last two steps:
Try a mushroom.
And do a little dance.
Now that your world has been rocked, lets move on to the onions.
Onions Glaces a Brun
(Brown-Braised Onions)
Ingredients
18-24 while pearl onions
1 1/2 tbsp butter
1 1/2 tbsp oil
1/2 cup brown stock
salt & pepper
herbs (parsley, bay leaf, 1/4 tsp thyme)
Directions
Heat the butter and oil in a skillet.
Add the onions and saute over medium heat (about 10 mins).
Roll the onions in the pan so they will brown evenly.
Then pour in the stock, s&p, and herbs.
Cover and simmer slowly for 40-50 minutes
(the onions will be tender but retain their shape - the liquid will have evaporated)
Remove from heat.
Now, back to our Boeuf.
When the meat is tender,
[and believe you me, after 3 hours, it will be wonderfully tender]
pour the contents of the casserole through a strainer set over a sauce-pan.
[The recipe calls for a "metal sieve" - we used a plastic pasta strainer and it worked just fine]
Wash out the casserole and return the beef and bacon to it.
[Genius step btw - presentation is everything! Who wants to serve dinner in a crusty pot!?]
Distribute the onions and mushrooms over the beef.
[Swoon a little]
Now simmer the sauce for a minute or two, skimming the fat off the top.
You'll end up with about 2 1/2 cups of sauce.
Taste, and season if needed.
When it's slightly thickened, pour the sauce over the meat and vegetables.
[At this point you'll want to bring out your best china dishes
because you'll realize that this ain't no ordinary meal.]
Serve with potatoes and a green veggie.
(It would also be delicious over noodles)
Next, take a minute and be amazed that you just made boeuf bourguignon.
Now sadly, I have to admit that Taylor and I were so focused on sitting down and trying our delicious creation, that we totally forgot to take a picture of it!
I searched
online until I found something that looked slightly similar to ours!
(I just couldn't leave you hanging after all that, could I!?)
This dish was, without a doubt, the most impressive meal we've made to date.
It does take all day to make, and it is, really, just beef stew.
But it absolutely rocks.